First of all, emphasize that, before using PS to reverse the negative impact effect of the production of this ACTION, it is best not to make any changes to the picture, such as do not adjust the contrast, etc., in other words, the best is to open the original directly click ACTION Invert negative impact effect adjustment, because this will affect the color of the picture from the beginning, the retention of pigment is a key point to pay attention to the use of PS, the pigment of the original picture destroys the space of the entire picture can be retouched The less you have come.
This is the effect of using ACTION to reverse the negative impact directly after opening the original image.
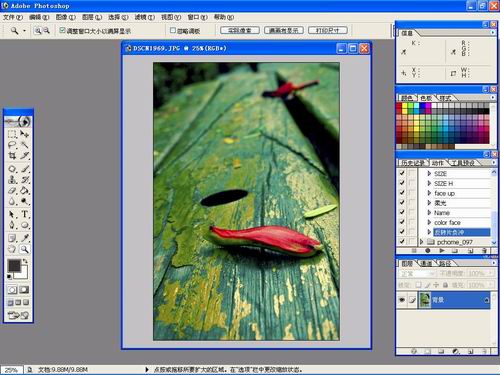
After the picture is adjusted, the basic colors come out, but there are some gaps from the finished product, such as color, sharpness, etc. We can make the following adjustments. If we need to increase the yellow color so that the yellow is more prominent in the picture, you can adjust the yellow saturation.
The process of sharpening is this:
1, converted to Lab color mode, select the brightness channel, USM sharpening, the parameters for the number of 100%, radius 2, the value of 2
2. Select a channel, Gaussian blur, radius 1, select b channel, Gaussian blur, radius 1
3. Switch back to RGB color mode.
The sharpening effect of the sharpening method I've tried for a while is the best. I also made ACTION, which is very convenient. I personally like to sharpen the big picture. Although the effect of sharpening the picture after narrowing is obvious, the sharpening of the picture and zooming out can retain more details. Sometimes the effect of sharpening after one ACTION is not enough. Ideal then you can do it once again. This sharpening method is also relatively low in damage to the original image. (Text / Archie)
Metal Handle,Clip Lock,Metal Lock
Aluminum Makeup Cases Co., Ltd. , http://www.nsaluminumcases.com